How to automatically manage Node versions

by Matt Fantinel
10 Sep 2023 - 3 min read
If you're like me, you're constantly jumping between projects, and often those projects need different versions of NodeJS. Ideally, all of them would be using (or compatible with) the latest version, but in reality a lot of those projects are old and you just don't have the time to update them and make sure all dependencies play nice.
When jumping between them, it's usually a pain to remember which Node version to use and have to switch to that version. Tools like nvm make it easy to switch, but it's still a manual task that we often forget to do.
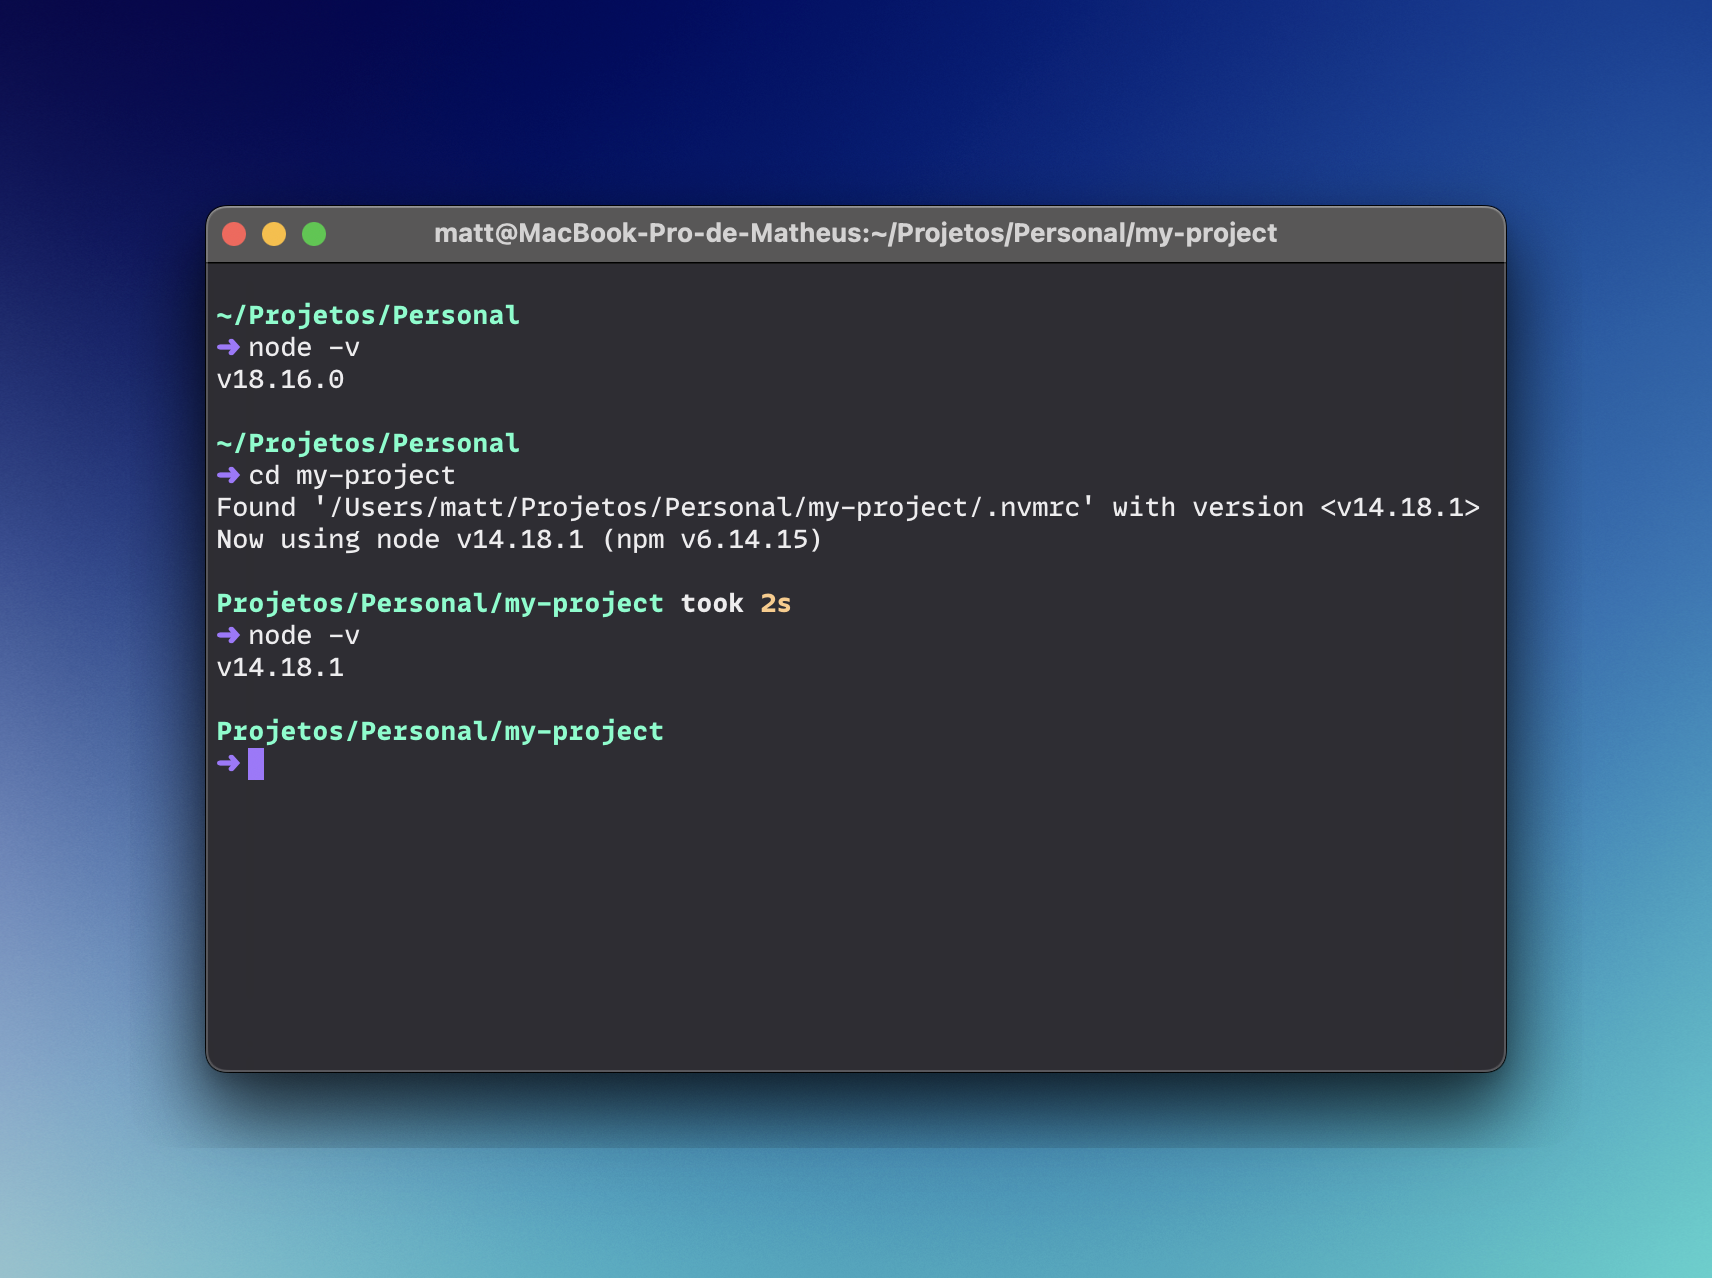
Turns out, you can use nvm to automatically switch the NodeJS version when you cd into a folder! All you need is a file in your project and a few lines of magic in your bash/zsh profile.
Configuring your shell profile to change Node versions
The first step is to edit your shell profile file, so that every time you cd into a folder, it checks if there's a .nvmrc file and if so, it switches to that Node version.
If using zsh
If you're using zsh, you can add the following to your .zshrc file:
# Automatically use Node version specified via .nvmrc file

# place this after nvm initialization!
autoload -U add-zsh-hook
load-nvmrc() {
  local node_version="$(nvm version)"
  local nvmrc_path="$(nvm_find_nvmrc)"

  if [ -n "$nvmrc_path" ]; then
    local nvmrc_node_version=$(nvm version "$(cat "${nvmrc_path}")")

    if [ "$nvmrc_node_version" = "N/A" ]; then
      nvm install
    elif [ "$nvmrc_node_version" != "$node_version" ]; then
      nvm use
    fi
  elif [ "$node_version" != "$(nvm version default)" ]; then
    echo "Reverting to nvm default version"
    nvm use default
  fi
}
add-zsh-hook chpwd load-nvmrc
load-nvmrc
If using bash
With bash, you can add the following to your .bash_profile file:
# Automatically use Node version specified via .nvmrc file

# place this after nvm initialization!
load_nvmrc() {
  local node_version="$(nvm version)"
  local nvmrc_path="$(nvm_find_nvmrc)"

  if [ -n "$nvmrc_path" ]; then
    local nvmrc_node_version=$(nvm version "$(cat "${nvmrc_path}")")

    if [ "$nvmrc_node_version" = "N/A" ]; then
      nvm install
    elif [ "$nvmrc_node_version" != "$node_version" ]; then
      nvm use
    fi
  elif [ "$node_version" != "$(nvm version default)" ]; then
    echo "Reverting to nvm default version"
    nvm use default
  fi
}

if [ -n "$BASH_VERSION" ]; then
  PROMPT_COMMAND="load_nvmrc; $PROMPT_COMMAND"
fi
Creating a .nvmrc file
Inside your project folder, create a file called .nvmrc and add the Node version you want to use. For example, if you want to use Node 14.18.0, you'd add the following to the file:
v14.18.0
You need to do this for every project that needs a specific NodeJS version. If you don't add a .nvmrc file, nvm will use the default.